My kids have tonnes of craft supplies. If they’re lucky I even let them use them! I’m kidding, but tidying up after craft sessions is one of my most hated tasks! Thankfully for the last three months or so the task has been a lot easier; the sessions themselves a lot less messy generally because everything is neatly organised and easy to get out and put away! I had been toying with the idea of getting one of the Ikea Raskog kitchen trolleys to do a DIY craft trolley for a few years, ever since they did them in turquoise! Sadly I put it off for too long and ended up buying a cream one earlier this year to use to organise all the art and craft bits. I love that it’s on wheels as I can drag it around the house.
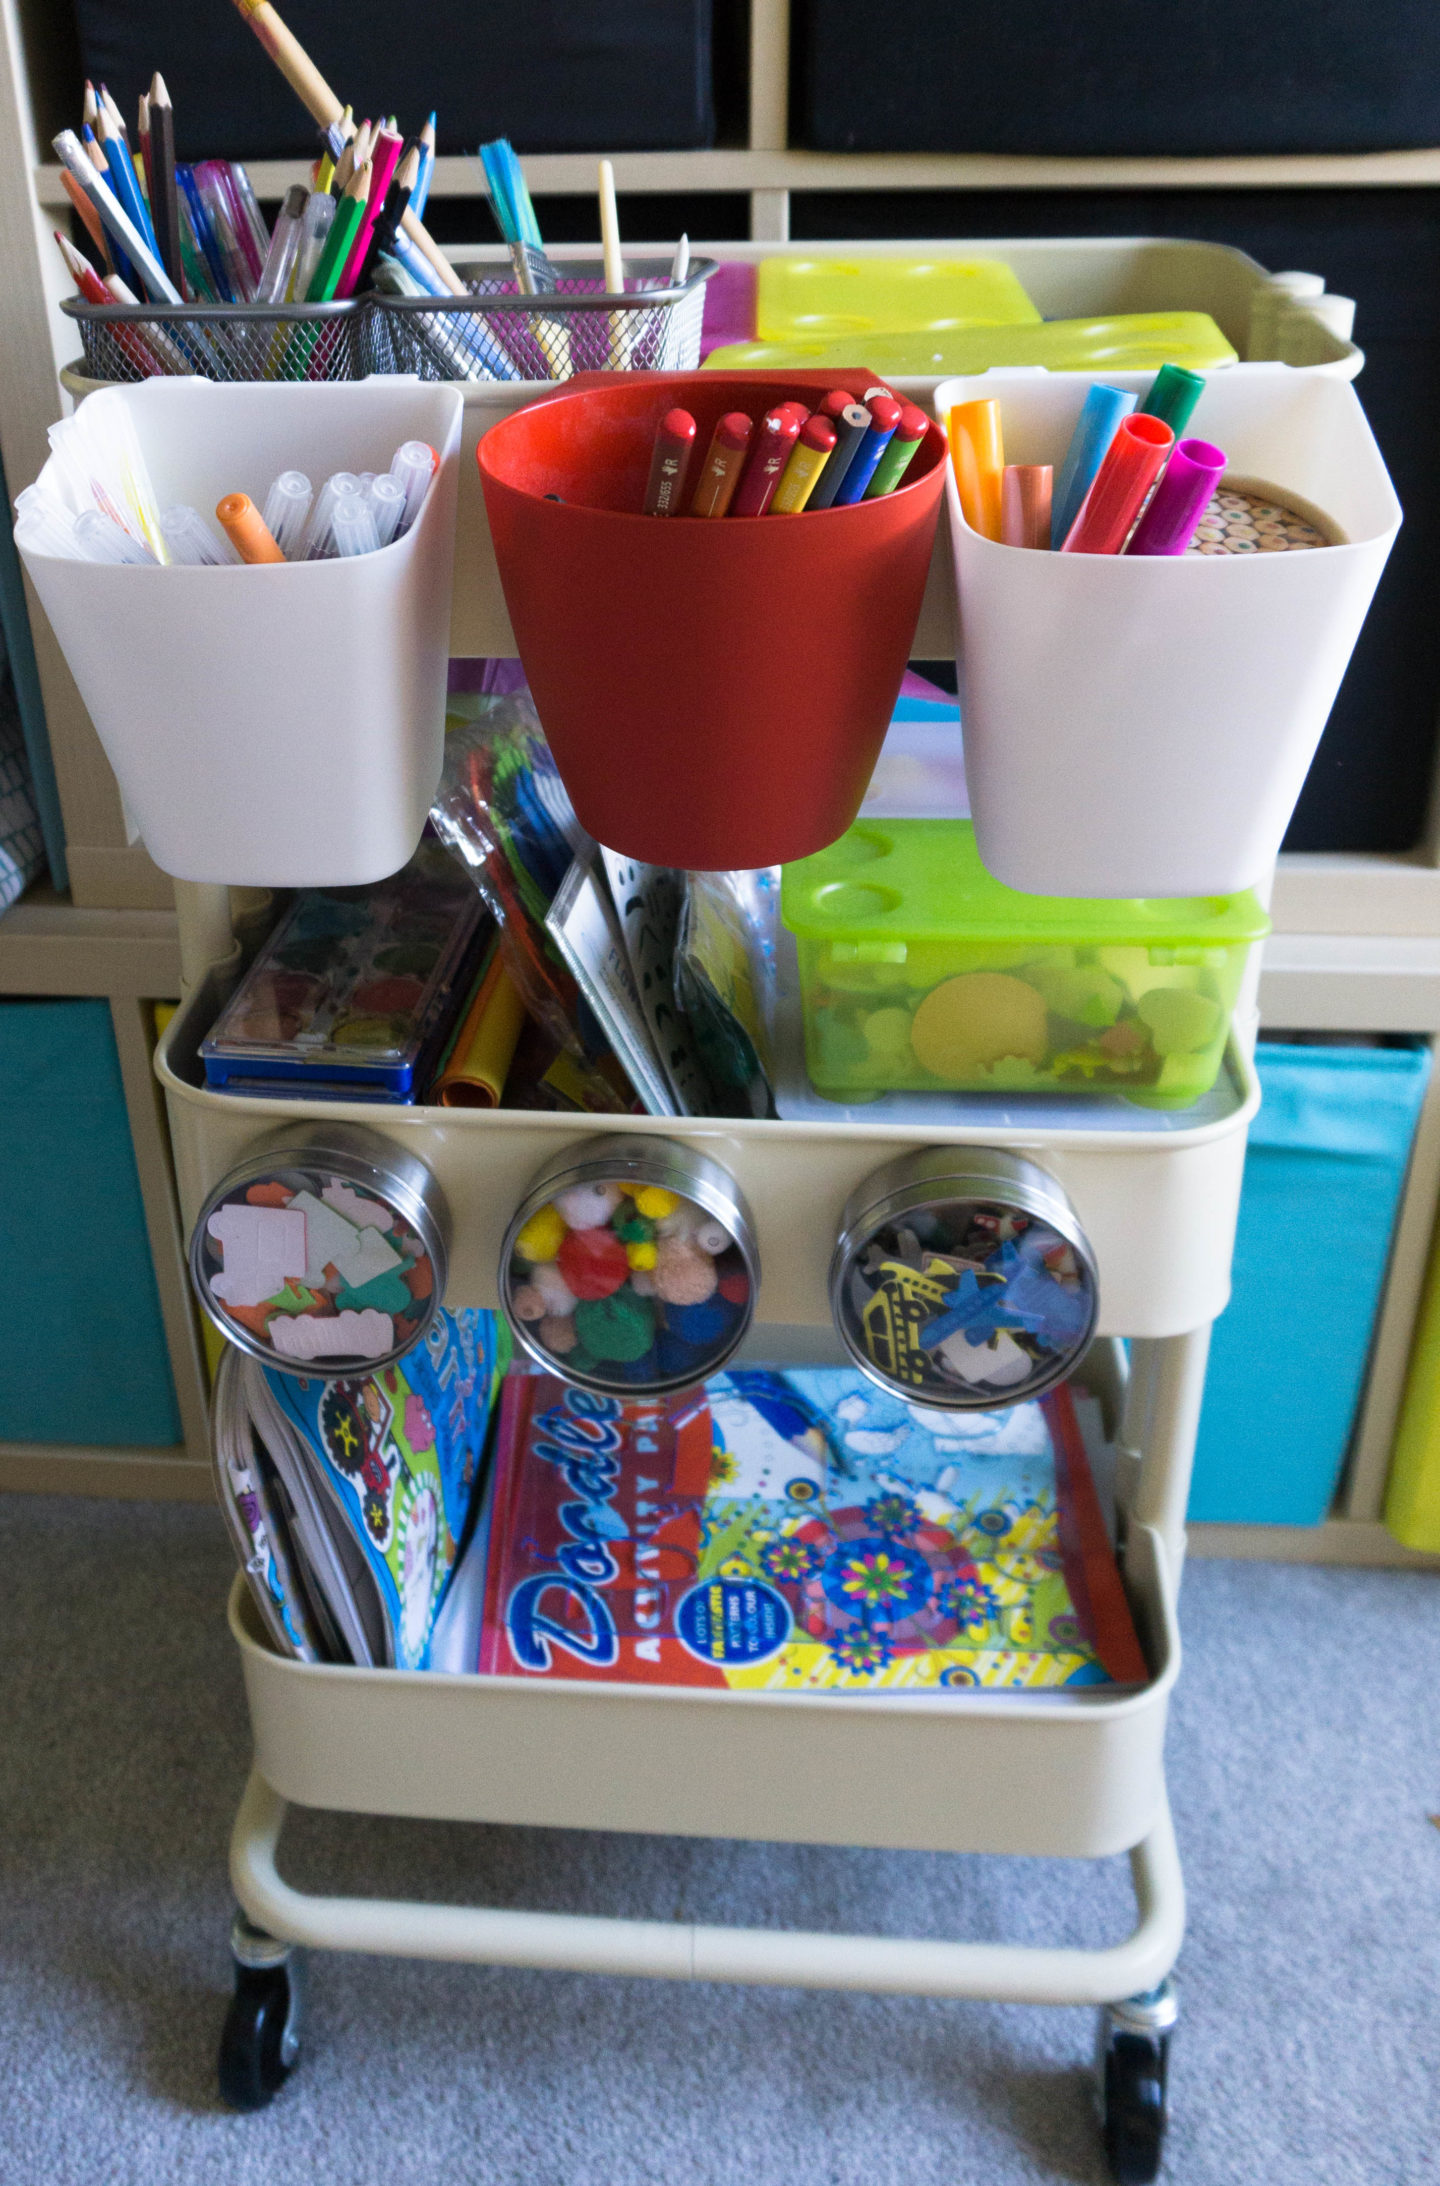
On our top shelf I keep the bits that are easiest to use, like crayons, felt tips, pencils and pens, paint sticks (we reviewed these here and I always buy a new set when I see them in shops – mess free painting!) so that Athena can grab whichever container she needs… at the moment it’s gel pens as she comes home excited to show me what the letter and number of the day are from school!
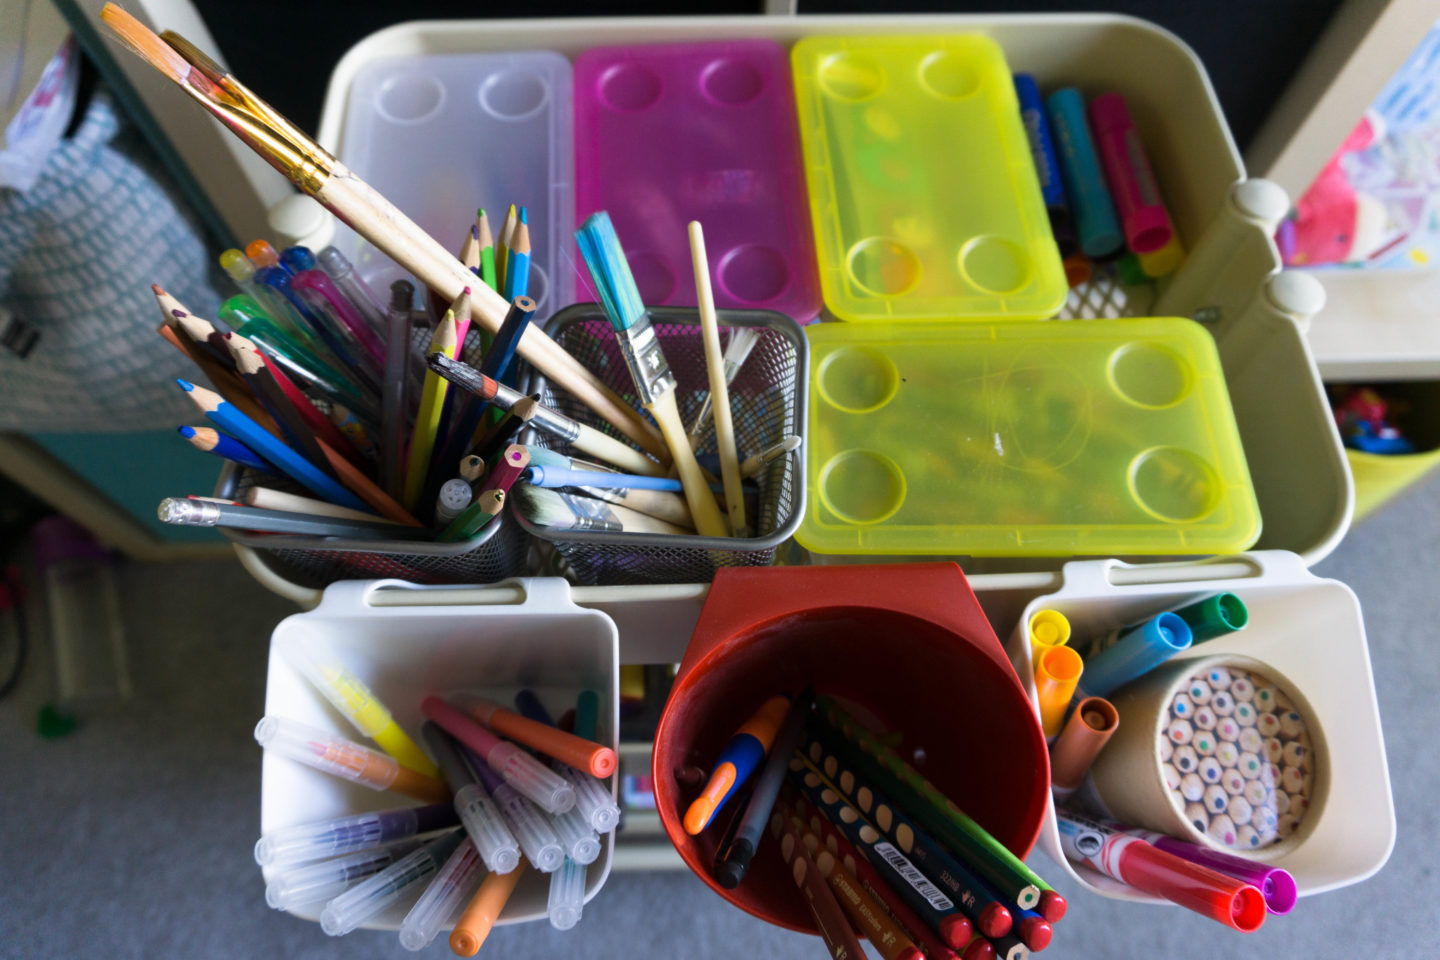
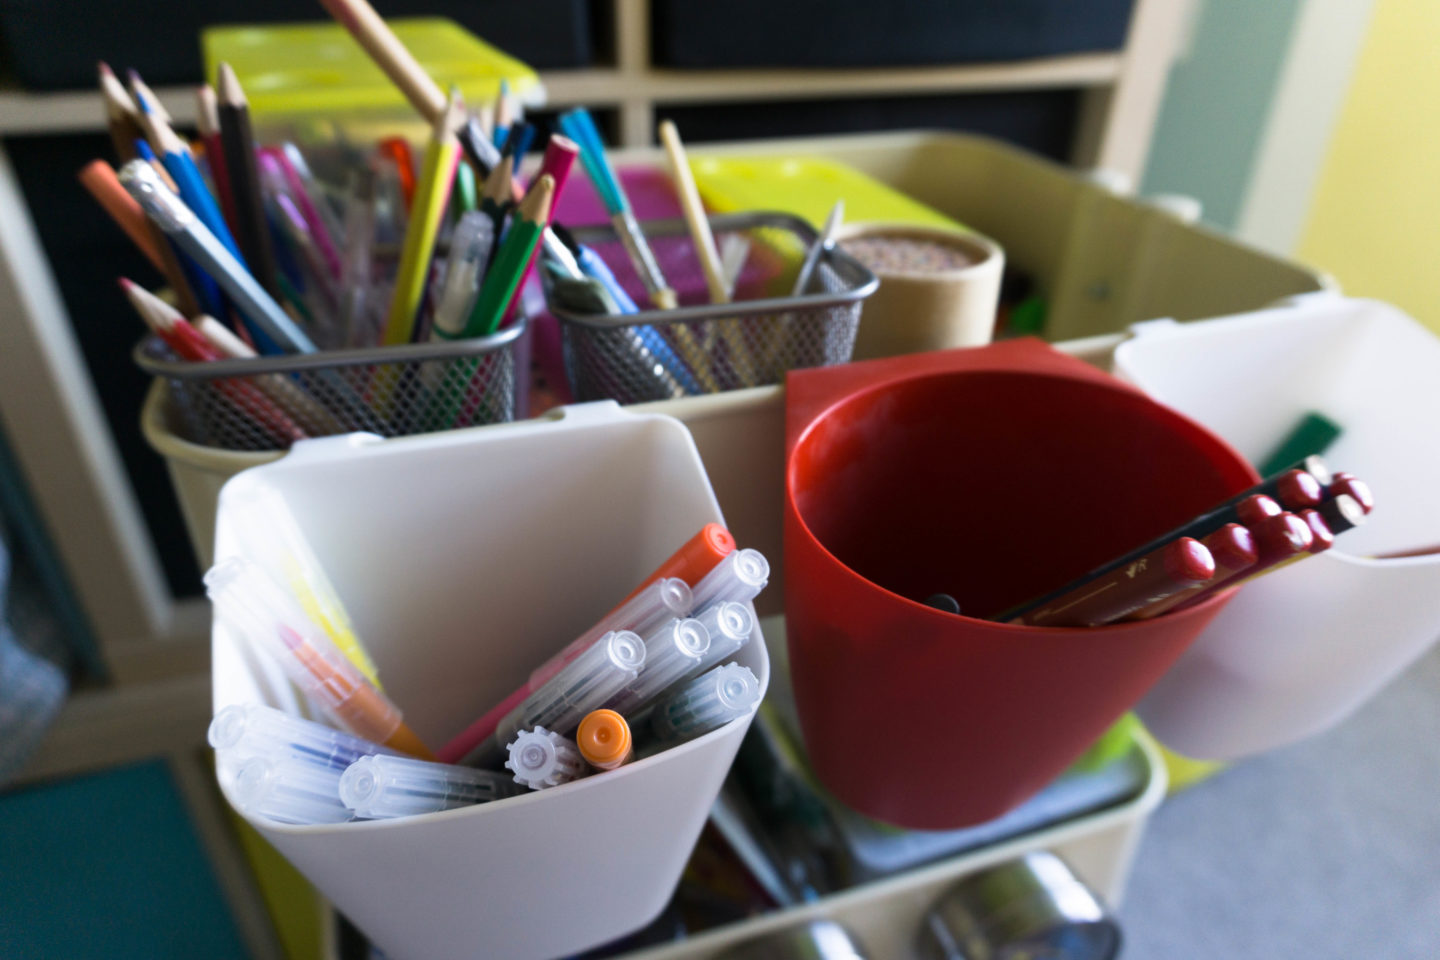
The middle shelf holds paint boxes, more containers of ‘bits’ (generally things that need to be stuck, threaded or cut) as well as tissue paper, foam sheets, and random stickers! I also have the magnetic containers stuck to this shelf, which have a selection of random stickers and pom poms in!

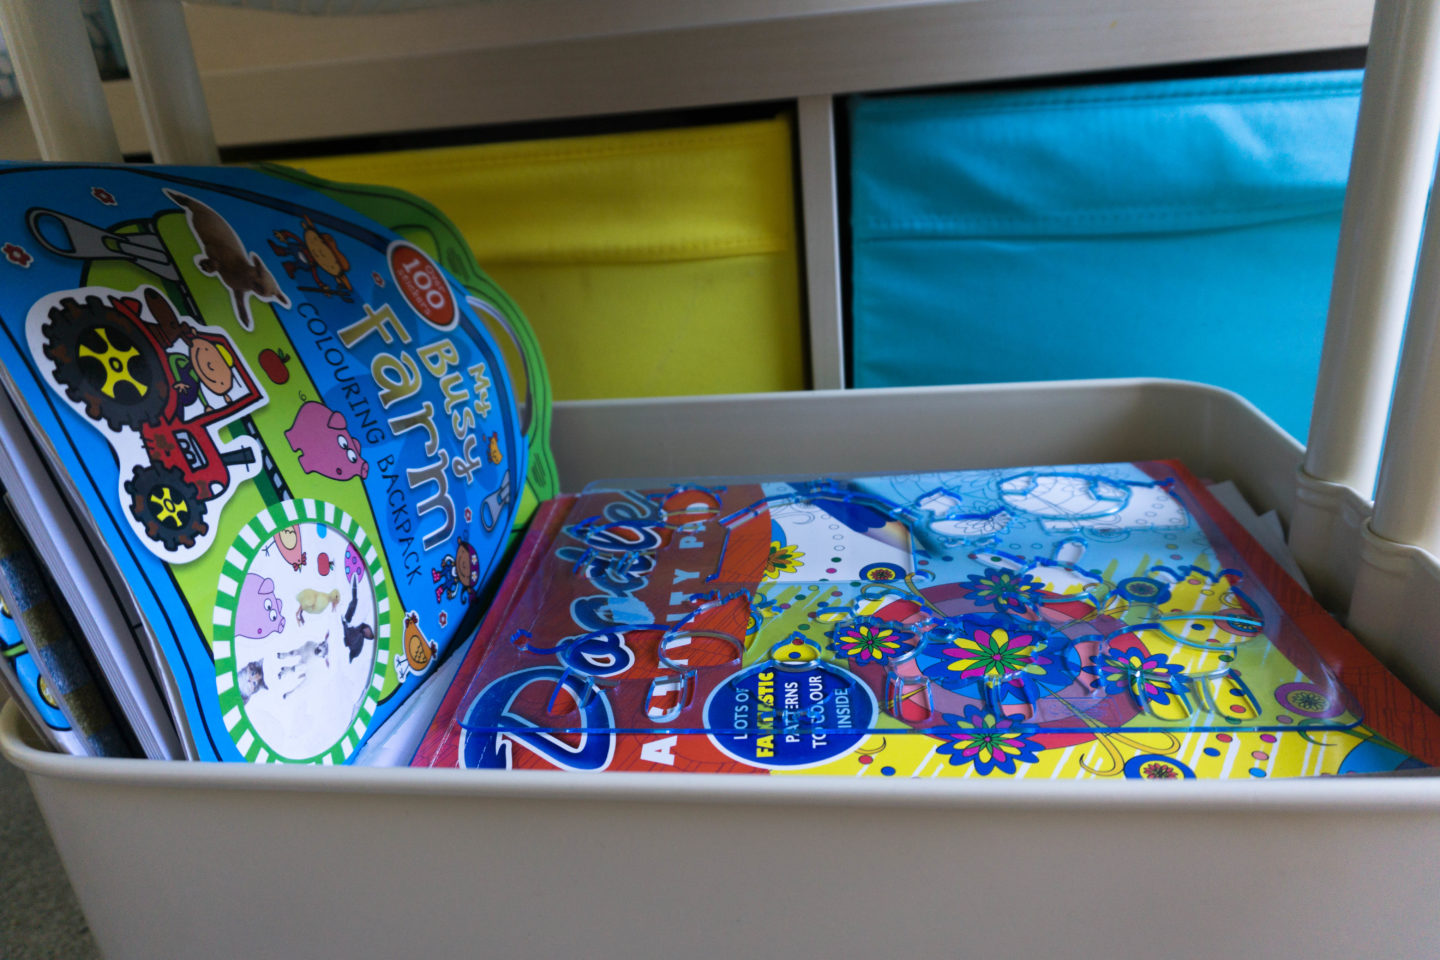
In the bottom shelf I keep pads of paper, stencil sheets and sticker books (so they’re easy to grab for long car journeys!) as the shelf is wider and longer than an A4 pad it means there is plenty of room for a selection of pads, paper and whatever else you need to store!
A closer look at what’s in each of the containers. Most of these bits and bobs are from Poundland, Wilkos, The Works or Tiger stores!

What you need to make a DIY Craft Trolley
Here’s a run down of everything that I’ve used in putting this DIY Craft Trolley together – I got everything from Ikea but if you don’t have one locally I have found most things on amazon too.
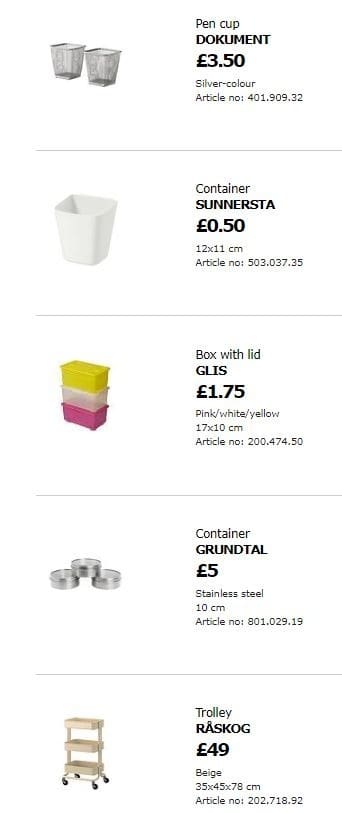
First up pen pots – for storing pens/pencils/paint brushes etc in. Similar here on amazon
These containers are ‘kitchen’ things apparently but the little lip on the back edge means you can attach them easily onto the sides of the Raskog trolley to keep things stored in too. Wipe clean too, bonus! (on amazon here)
The Glis boxes are used all over our house! They come in packs of three in different colour selections and have removable hinged lids. We use them for all sorts, memory cards, little cables and camera bits, tiny dinousaurs, the counters and dice from games, puzzles- you name it! I used them on our craft trolley to store bits of similar items together. (on Amazon here)
Grundtal containers are another ‘kitchen’ item- circular containers with a clear lid and a magnet on the bottom. We use them to store stock cubes in the kitchen but they are perfect for keeping smaller craft bits in and as they just stick via the magnets to the sides of the Raskog trolley they’re perfect as they can’t get lost! (on Amazon here)
Finally the trolley itself… they’re so versatile! I also have friends who use them as sewing trolleys, bathroom storage for toiletries, make up storage and of course for their intended purpose as a kitchen trolley! You can get them at Ikea of course, but I have linked some cheaper versions available on Amazon above.
So there we go, so easy and super quick to put together (especially if someone else builds the actual trolley for you!) I wanted to share this at the start of the summer, but the kids ransacked it and it was looking a bit bare for a while so I thought I’d wait till it was fully stocked again! My friend Donna has also put together an art trolley, her kids are a little older than mine so it’s got lot of different things in, and she’s used different ways to organise it too.
Let me know if you try it!


I can’t believe we are currently doing the same project too – snap!! It looks ace! x